Asalam-Mu-Alakaum, in today's tutorial i will show you how to assign/add an icon to a Flash Drive/ Flash Memory( Generally speaking, some people including me sometimes, not all the times, call it a "USB", isn't that so?,anyhow the Port in which Flash Drive is connected is known as USB (Universal Serial Bus) Port.
Step # 1: Pick an existing icon or create a new from scratch
a: Picking an existing icon is simple and easy. Your computer has a lot of icon but you don't know where are they located. To search for an icon file.
1: Click Start, and then click Search. (Windows Key+F)
2: Click All files and folders.
3: In box type *.ico
4: In Look in, click the drive C.
5: Click Search.
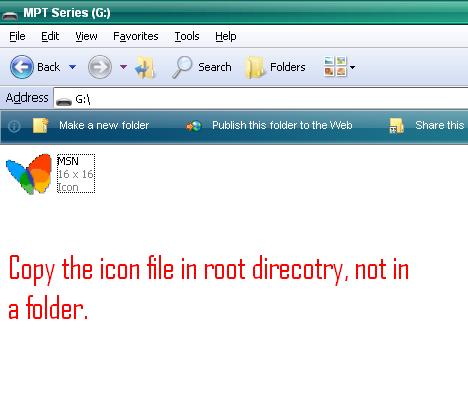
6: Choose any icon from the result as you desire (e.g MSN.ico) and copy it to the root directory of the Flash drive. Rename the icon to "myicon" and now jump to the step#2 after copying the icon into root directory.
(b): Creating a new icon from scratch
This sub-step is a bit difficult and time consuming but it depends on you how fast you can create an icon & which you will choose to create an icon. The one i use to create icons is from www.axialis.com. http://www.mediafire.com/?q9bbeye4bosoxcj Here are a few steps creating an icon at .
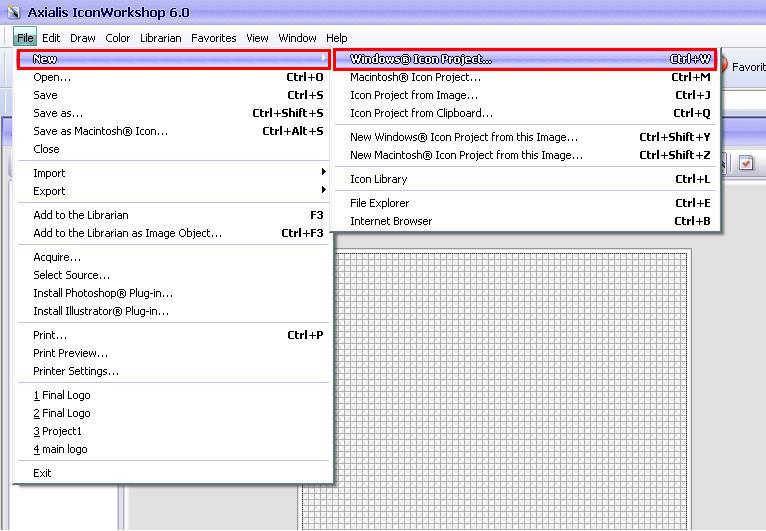
1: File Menu> New> Windows(R) Icon Project... (Ctrl+W). The new icon windows appear,go to next step to make some changes.
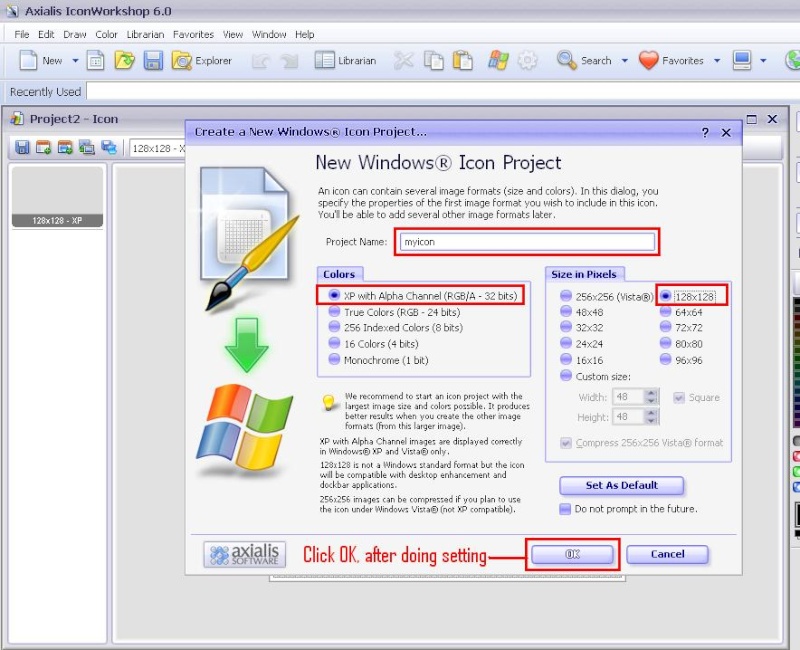
2: In the box type any text as you want (e.g myicon). In the frame, choose , in the choose <128 X 128> and Click OK
3: Design an icon using the tools and options available at most right side of the application or i recommend you to import an image for convenience, keeping reading to learn how to import an image and use it as icon.
4:File Menu>Import> Image (Ctrl+Shift+I). The import bitmap dialog appears, locate the image and click open. Click OK if any tip dialog appears. The image will be opened in a new window.
5: Edit Menu>Select All (Ctrl+A). Or manually create selection with mouse.
6: Edit >Copy(Ctrl+C). Switch (activate) the project you have just created with name myicon using windows menu.
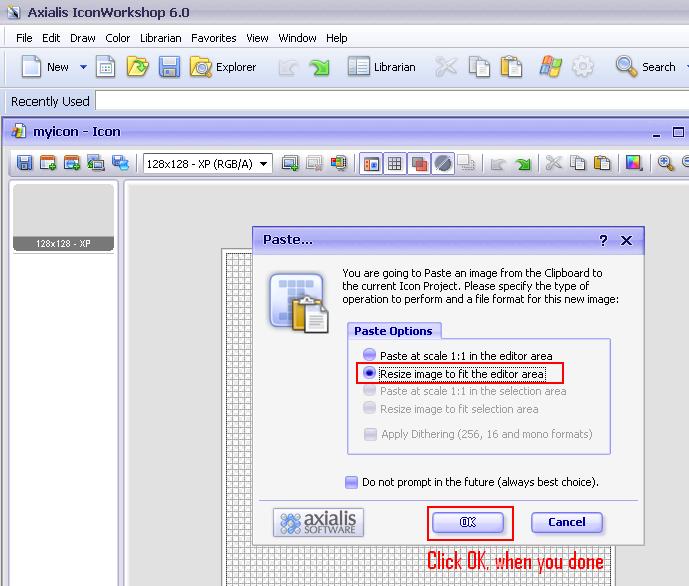
7: Edit>Paste (Ctrl+V). The paste dialog box appears, in paste options choose and click to size the image to the icon area.
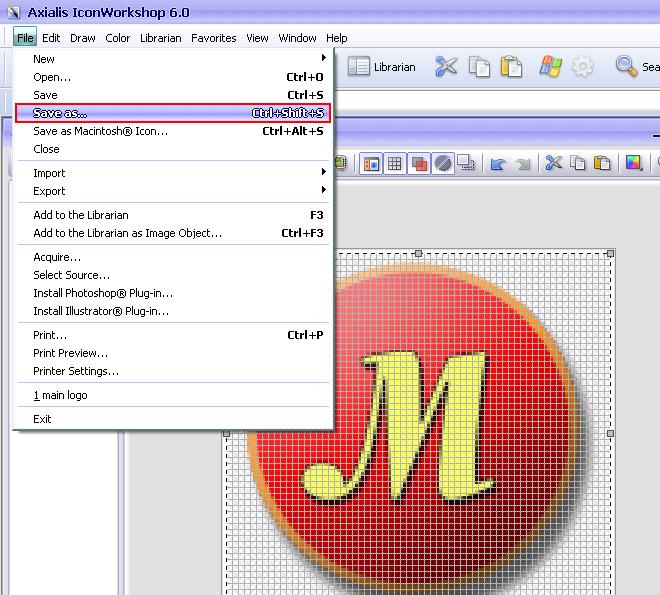
8: Now save the icon in the root director of your flash drive. Go to file menu and choose Save As. (Ctrl+Shift+S). The save as dialog appears locate the flash drive and save the myicon in the root directory.
Step # 2: Create a setup information file(.inf) using the notepad.
1: Open the plain notepad available in Start button>All programs>Accessories>Notepad and type the following. (only the first two lines.)
[autorun]
icon=myicon.ico
( myicon is the name of the icon we have saved in the root directory of the flash drive)
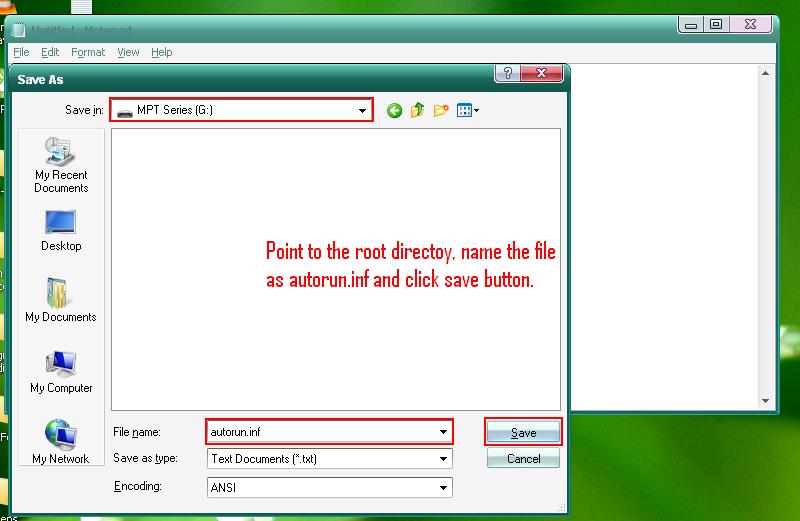
2: Save the file with name Autorun with extension .inf in the root directory of flash drive where you have saved the icon (myicon).
3: You are done!
Step # 3: Verify the icon by exploring
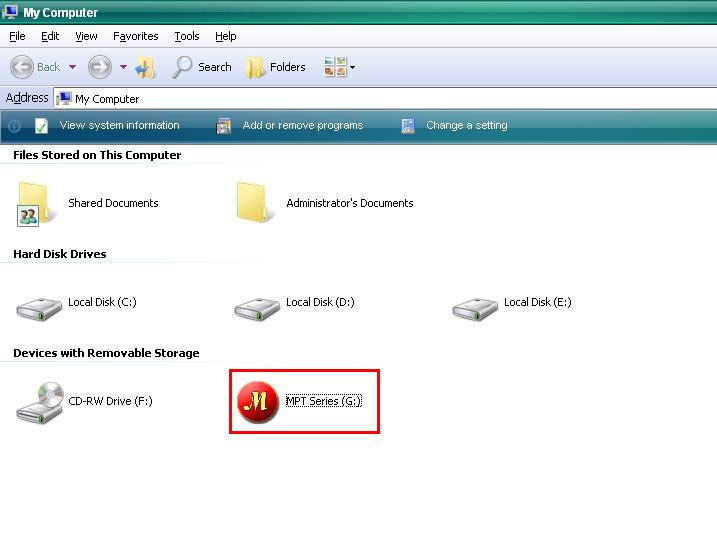
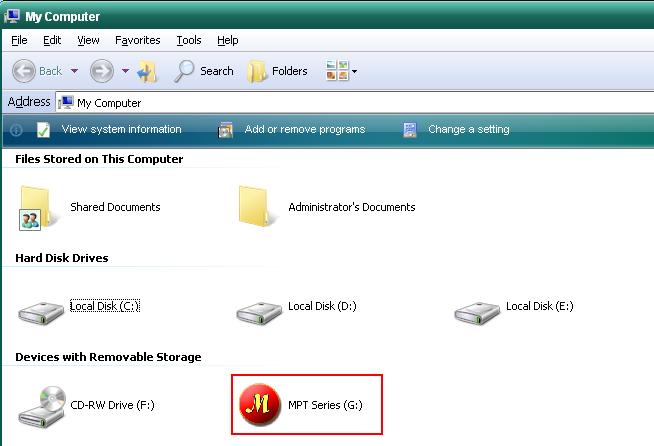
1: From desktop double click on My Computer Icon, you will see the new icon for your flash drive. If you still don't see any icon, unplug the flash drive from the computer and re-plugging will give the chance to see your icon.
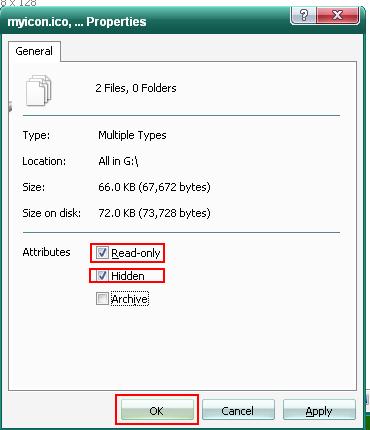
2: Make the icon and autorun.inf files hidden and read only, selecting both the files and right click with your mouse and choose properties. In the properties dialog check (turn on) the and attributes and click OK.
Warning: Deleting the icon & autorun.inf files and formatting the flash drive can cause the icon to disappear. Before formatting copy the icon & autorun to another location after you done the work re-copy them to the root directory of the flash drive.
No comments:
Post a Comment